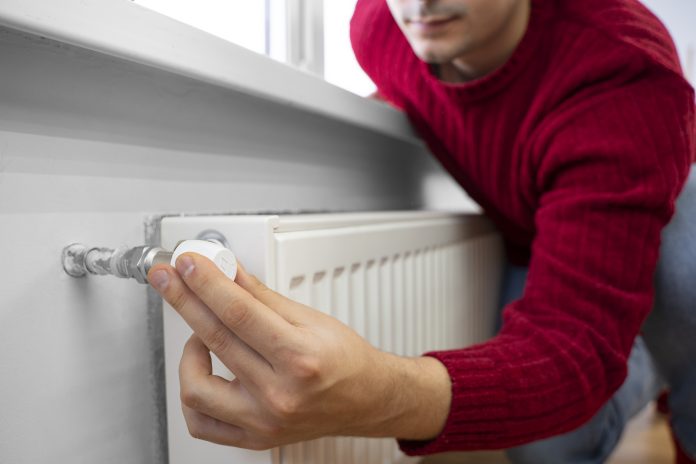
The installation of a radiator is among the most suitable solutions for people who have just bought their first home and want to enhance the heating system of the house. Some of the guidelines that can be followed by the homeowners who need to install the radiator properly include the following in the procedure, the kind of arrangement he or she needs to be alert on tools and methods that he or she has on safety too. It will be quite helpful to understand certain fundamental concepts of installing radiators to help you manage the heating system of your house.
1. Radiators Are Fundamental Equipment in Homes for Warming
Radiators are the key facilities of the home heating system as a boiler generates heat to be circulated in your living space. To produce heat and spread it in the interiors they pump hot water from the boiler through pipes. For first-time homeowners, understanding how radiators work when considering the energy efficiency of their home or even further the heating needs of their house would go a long way in solving the mystery.
2. List of Minimal Necessary Equipment and Supplies
In any radiator installation, some equipment and supplies are good to have on hand such as those listed below. Radiator brackets are tools that will be needed including PTFE tape for sealing; adjustable spanners; screwdrivers; and a drill with masonry bits. A radiator bleed key is useful to release trapped air after fitting while draining water a washing bucket is ideal.
3. Dispersed Concerns for Consideration About Safeguard
Before you start any do-it-yourself job the most important aspect to consider is safety. When placing the radiator make sure that the heating system is off, and the area around the radiator is cool to touch. To ensure your hands are guarded from sharp things or tools as you work, you need to use work gloves. This is because near the radiator there may be other connections to the electricity power which might be hazardous.
4. How to Measure and Getting Ready for Installing
Measurement is a crucial aspect that should be done before proceeding to anyinstallation process especially when installing a radiator. First, choose where the radiator is to be located. If you want to know where the brackets should be installed, then begin taking measurements of the wall – its height as well as width. Also, while designing be careful of placing furniture or any electrical outlets that may interfere with the flow of heat into the room.
5. The Radiator’s Dressing
When the radiator is ready for installation, the process is referred to as giving it a dressing. This is used to ensure that there is no dripping once the radiator is connected to the heating system and hence a PTFE tape is applied around the valve tails to form a waterproof joint. Wear the tape around half to three-quarters of the valve’s circumference in a clockwise direction to avoid bending the pipe and using excessive amounts of tape.
6. Boring and Staking to Fix Brackets
Once the mounting bracket has been designed the distances obtained above should be marked on the radiator. Check that the brackets are level and then fix them properly by drilling holes in this wall using a hammer as a drill and masonry as a bit. In choosing the anchors for the type of wall in the house like a brick wall, masonry plasterboard wall, etc it should be made sure that the weight of the radiator should be anchored on a stead proper supports.
7. Attaching the Radiations and Systems
After finalizing all the bracketry, you should then join the radiator tails to the heating system 2 valves. But watch out not to tighten too much for that would be damaging and check that all connections are secure. Upon connection, it is advisable to switch on the heating system for some time and check for any leakage at the connections.
8. Leaking Radiator Blood
The major problem with radiators is that they will likely require ‘bleeding’ after they have been installed and connected because this releases air that may decrease the heating efficiency. To unlock the bleed valve and allow air to come out until you hear water dripping out, utilize a radiator bleed key. To remove the water leakage, close the bleed valve as soon as it is possible.
9. Maintenance information after installation
To ensure you achieve the best result, you should perform the following maintenance after the installation is complete: In addition to sweeping, mopping, and dusting the region, it is advised that homeowners ensure they stop any leaks and bleed the radiator when full. This paper is aimed at providing knowledge of the fundamental procedures to be followed in ensuring the longevity and efficiency of radiators.
10. When Do You Need Help from a Specialist?
However, this tutorial should cover radiator installation in detail so some homeowners might still require a professional radiator installation aid. However, if you have any questions about any phase of the process or indeed if your system requires complex changes such as heavy pipework alterations then you should not hesitate to call a competent plumber.


